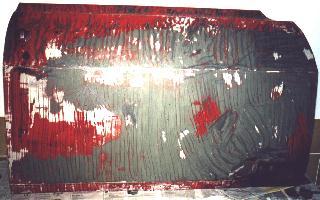
 open it...
 ...replace the inner
layer...
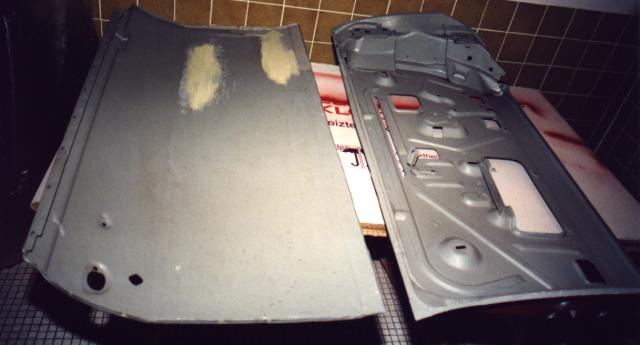
...replace the inner
layer...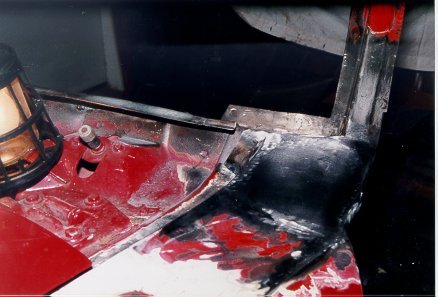 ...close it.
Select which area to show: Front Center Rear Mechanics
(click on the thumbnails to see a bigger picture)
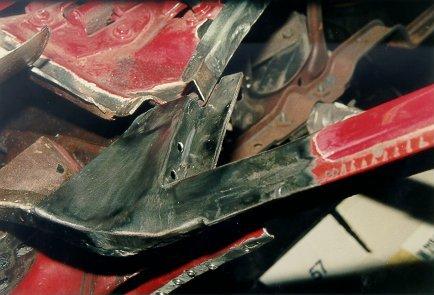
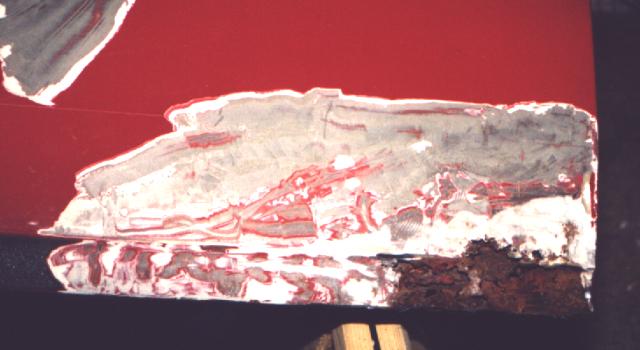
This shows the progress on the windscreen frame, which was pretty bad.
open it...
...replace the inner
layer......close it.
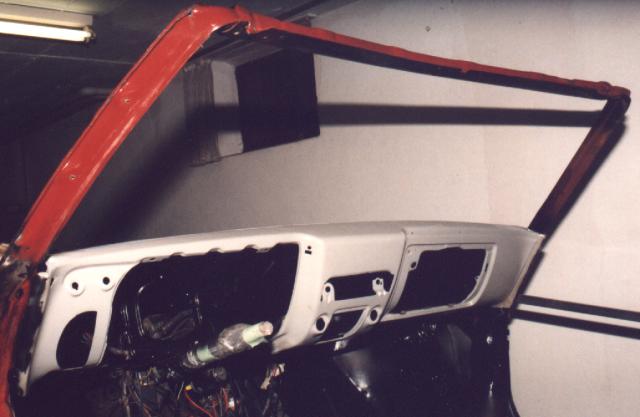 After sandblasting, the dash goes back in.
 Now the lower part of the windscreen frame completes this section.
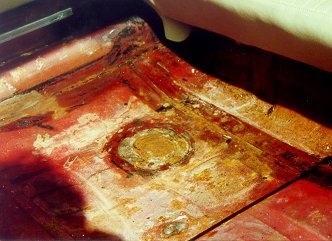
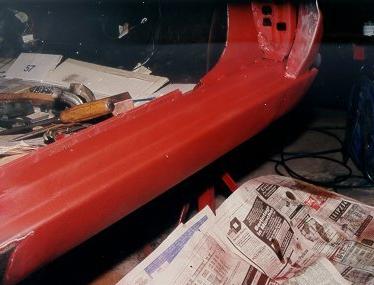
The floor had only slight rust. Sandblasting and priming was enough. A real easy fix.
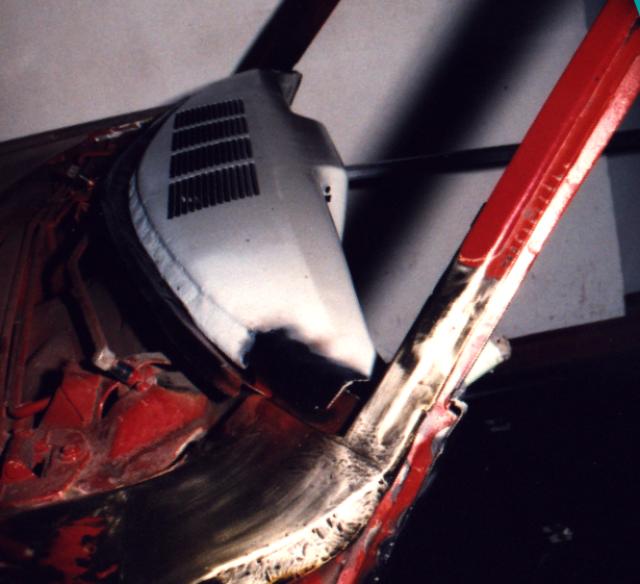
The A-post:
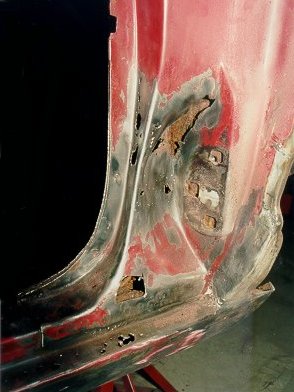
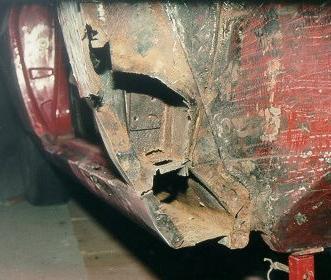
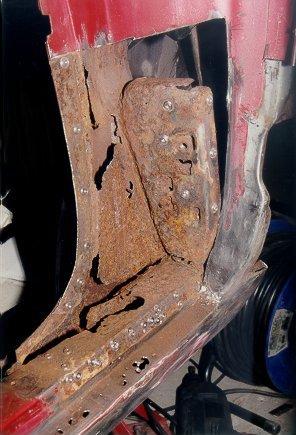
Three steps to get into that mess.
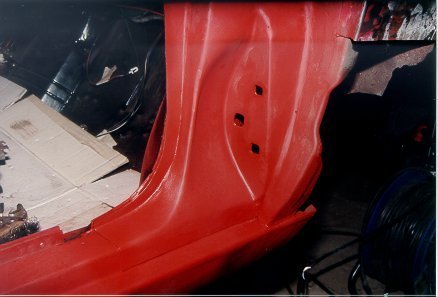
Some more to get it straight.
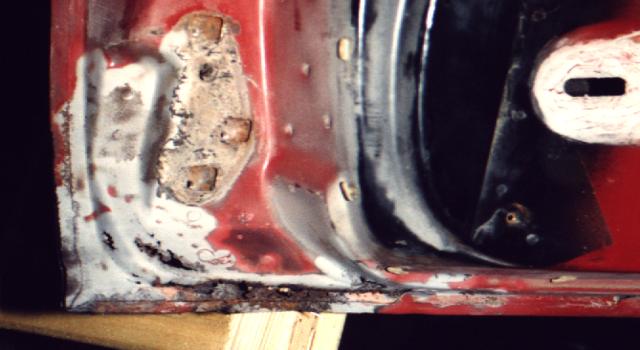
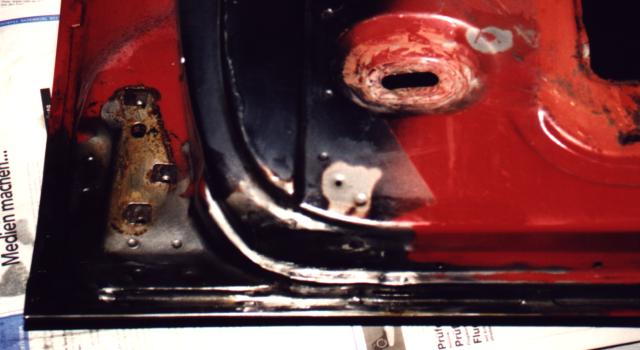

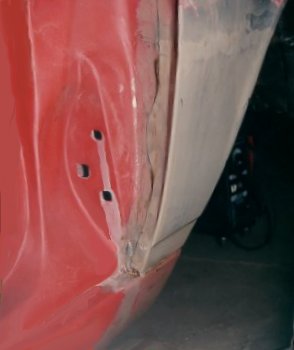
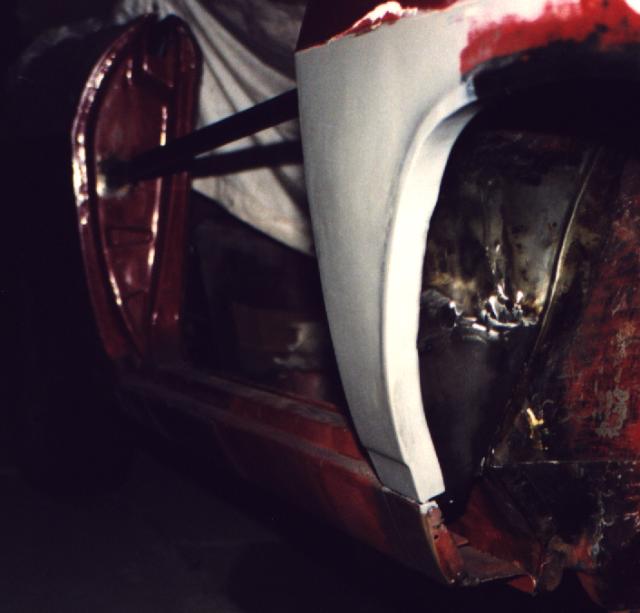
The passenger door was better. I had to replace only one corner - inner and
outer side. A couriousity: sombody had cut out most of the panel on the inner
side, and welded it in again. There is no other trace of work visible. I
have no idea why this was done.
last update October 10, 1998